Installation - Configuration - Payments - Modules - Plugins - Uninstalling
Installation
Go to the backend Menu in Joomla, Extensions > Install/Uninstall.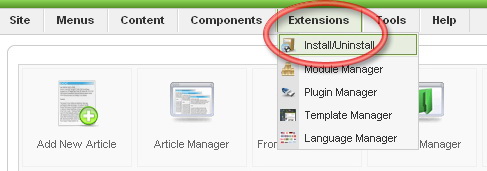
Click “Chose File” and “Open” the Ads Factory archive.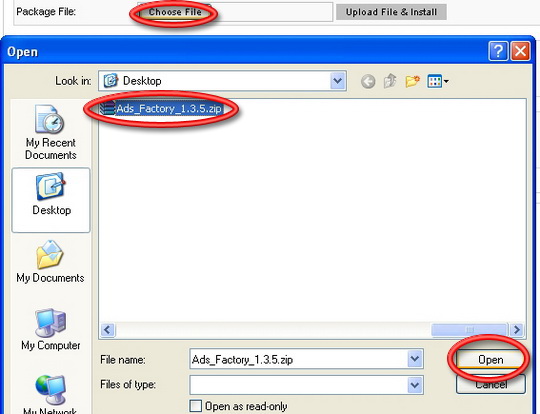
Click “Upload File & Install”
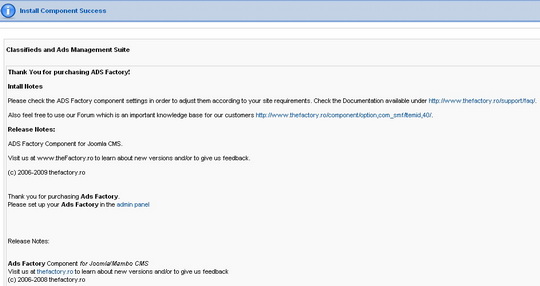
Configuration
Although Ads Factory is installed with default settings allowing it to be up and running almost instantly, it still needs some certain settings in order to be used at it’s full potential.
To access the Ads Factory backend options go to: Components > Ads Factory.
All the Ads Factory menus will be displayed in a list, you can select one from here, or just click on Ads Factory to display a line view that allows you to browse through the menus easier.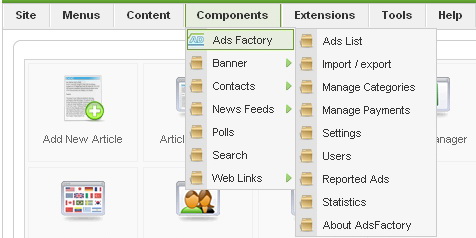

Ads List
You have full control over any Ad from here, changing category, price and the ability to block unwanted ads.
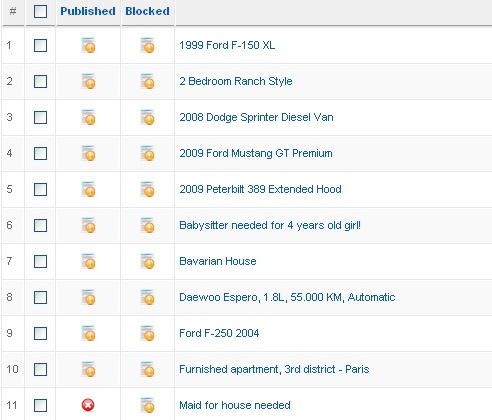
In the lower section of the page the display options are found, number of ads per page and page number. If you select to view all the ads, the page browser will disappear.

To Open/Block or Publish/Unpublish a single ad, click on the “Tile” for the respective column.
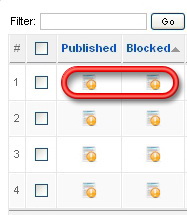
You can block more then one ad by checking the boxes next to the desired ads and clicking on the Block/Unblock buttons in the upper right of the Backend Menu.

This method of blocking ads is recommended for ads with a bad title, or if they advertise something you do not want on your website, if you want to check the contend of an ad click on it
to access the edit menu. In the upper right corner you will see the Block button.

Blocked ads will appear with  instead of
  .
.
Clicking on a specific Ad will open the Edit menu.
In the left you can see the ad itself and on the right you will find the user details and messages along with the period of time the ad will remain published.
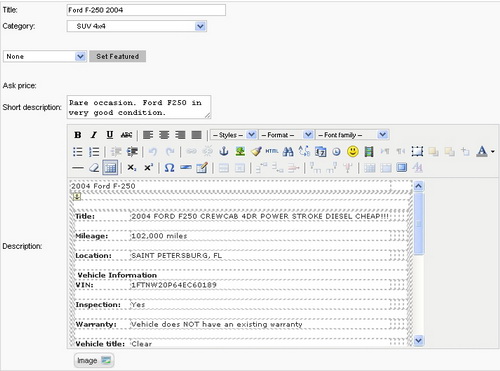
To Feature an ad Select the type: Gold, Silver or Bronze and click on “Set Featured” , press save in the upper right of the screen.

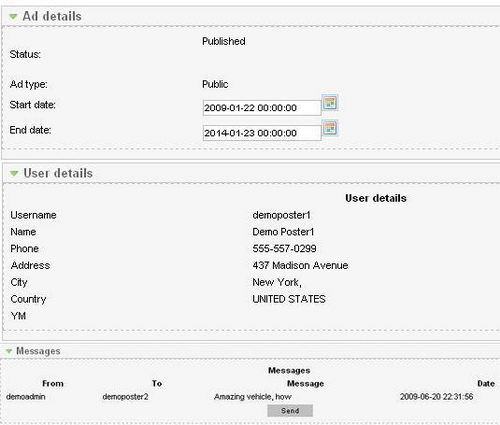
If you want to modify the Start or End date for an ad click on  from Ad details and a calendar will appear, locate the date you want and simply click on it.
Some ads will be set to publish at a later date then when they where created.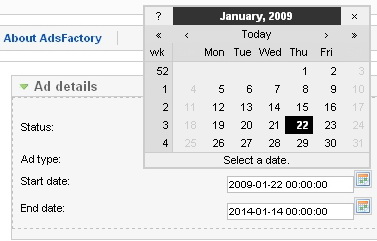
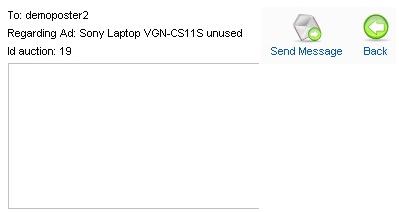
You can send a message to the poster by clicking on send, write your message then click on Send Message.This message will show on the frontend in the message board of the ad.
Whenever a user receives a message he will be announced via mail automatically, if enabled from Mail Settings.
Import /Export
The “Import ads” function allows you to upload CSV Files and Picture archives.
The “Export xls” function will create a Microsoft Excel Worksheet with information about the ads in your database.

Manage Categories
Creating the categories, with their sub-categories can be done here.
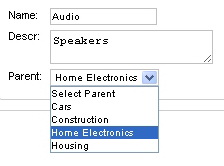
For a New Category press New Category and write the name you wish, then check the box next to it and press “Edit Categories” in the upper right, now you can assign it to a “Parent”, a category that comprises other small ones and add a small description.
e.g. Entertainment: Music, Sports, etc.
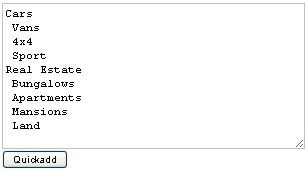
The Quick Add option allows you to add more categories along with their sub categories at once, they have to be written in a certain way to be properly arranged: Write the main category first, on the next line leave one space and write a sub category, under it you can write another and so on. If you want to add another main category do not leave a space in front of it and then continue as you did with the others.
Settings
General settings
Image settings
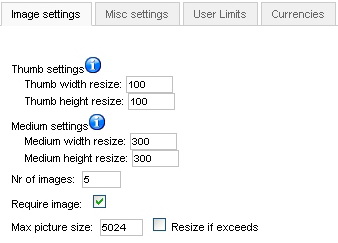
Picture settings for the ads can be found here, resolution, number of images and maximum size.
Thumbnail image is the small picture that is shown by every ad in the Ads List section.
“Require image” if marked will oblige the user to add at least one in order to post his Ad.
Miscellaneous settings
Various settings can be made here, you can fine tune the ads in the way that will best suit your needs.
You have the date and time format settings, these are the ones shown on every ad posted on your website “d” stand for Day, “m” for Month and “Y” for year. “H:i” is for a 24 hour representation of time and “h:iA” is for a 12 hour.
Enabling countdown will show the remaining time of the ad before it will expire.
Tags are an excellent way for ads to be filtered in a search, however if a user puts to many tag words his ad will pop up in every search, some people may find this annoying. To ensure this does not happen you should leave a decent limit on your tags, make the poster choose only the tags that are suited for his ad.
Price compulsory will require the poster to say the price he is asking for the product/service.
Map in ad details page will display the GoogleMap in the details section of the ads.
Captcha is used to prevent spamming, it requires the user to enter certain letters or numbers that a computer can not read, thus preventing automated spam messages.
The Captcha will prompt to guest users when they want to send messages.

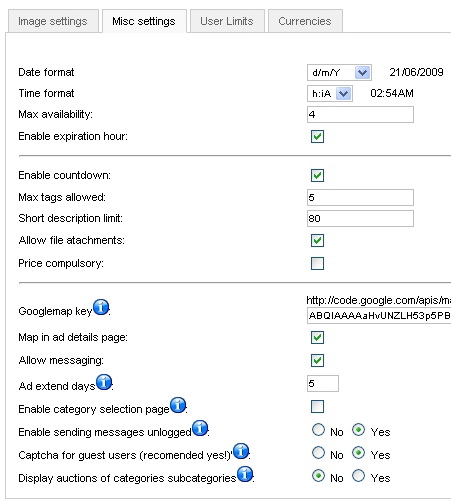
For a googlemap key you will need to go to http://code.google.com/apis/maps/ and they will guide you from there.
User Limits
You can set a limit of Ads per user or group of users, select the User/Group and type the maximum number you want for the User/Group in the specific field, then press “Save”
To delete the limit, Click on “x Delete” User/Group # in the left of the screen.
For unlimited ads set “Global User Limit” to 0

Currencies
The currencies that can be used for ad prices.
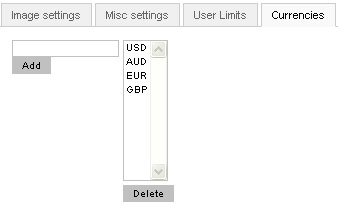
You can add new ones or delete them, just remember to press “Save” in the upper right corner.
CB integration
CB or Community Builder needs to be installed before the Ads component, if installed after you will be required to install the Ads plugins manually.
Mail Settings
The mail templates can be set up here, when an ad will soon expire or a user has been blocked, an email will be automatically sent to the user with the respective message. You can disable certain messages by selecting them, unmarking the “Enabled” box and pressing “Save”.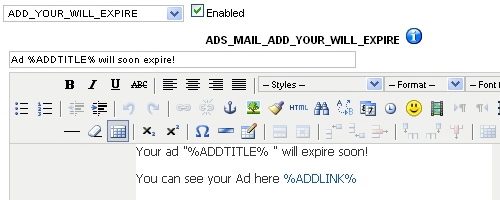
Terms and conditions
When a user creates an ad, he must agree to the Terms and Conditions, such as: Privacy, Confidentiality, Limitations or Payment method.
However if you leave it empty it will no longer be needed to agree.
Users
Here you can see the number of Ads posted by every user, the dates they where added on, and
personal information. Blocking/Unblocking users can also be done here, same way you block ads.

Reported Ads
Some people may try to make illegal sells or scam others, Reported Ads end up here and you can take a look at them to decide the best solution. A message can also be sent to the poster in order to announce him about the issue.

Statistics & About
These are information sections where you can view user numbers, ads posted and details about Ads Factory version and homepage.


Ads Man Menu Module
This is the primary module for Ads Factory.
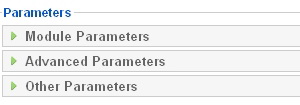
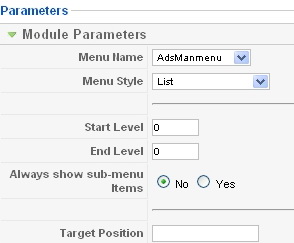
Module Parameters:
Menu Name:Adsmanmenu should be always selected
Menu Style: The way the Adsman menu appears, vertical or horizontal for example.
Start and End Level should be left 0 by default.
Always show sub-menu items: No by default, Yes if you want to display, although AdsMan does not have any
Target Position: Popup window position, 4 coordinates must be entered, top, left, width and height.
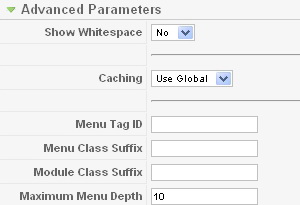
Advanced Parameters: Caching, Class Suffixes and Menu Depth are set here.
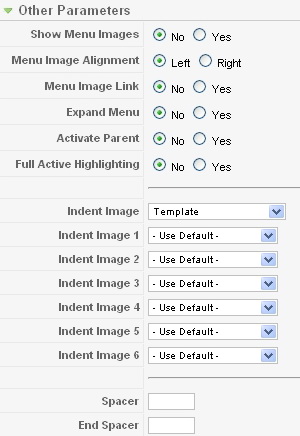
Other Parameters: Mostly Image settings and advanced module Details are found here.
Payments
To access the Payment methods Config go to Components>Ads Factory>Manage Payments
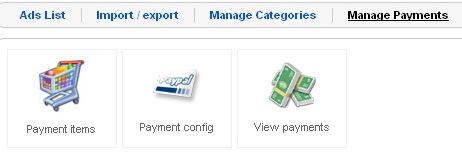
Payment items:you can cash in money by 3 methods
- per Listing
- per Contact
- per Featured
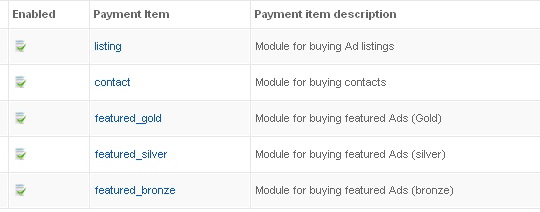
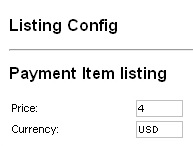
Clicking on an item opens the config screen where you can set the price and currency.
Payment config:Methods of payment are displayed here:
- Moneybrookers
- PayPal
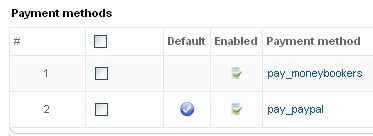
Clicking on them will open the e-mail screen,you will be required to enter you Paypal/Moneybrookers e-mail.

View payments: all payments are shown here along with their information.

User Payments
To get an Ad featured, click on one of the three options in the View Ad screen:

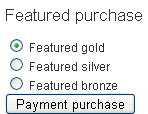
Select a Featured option

Select the method of payment

Now the Moneybrookers/Paypal server will take over the transaction.
Modules
These are the Modules that come installed automatically with Ads Factory.
You can see all the AdsMan modules by selectic the “mod_adsman” type in the Module Manager screen, this can be accessed in the Extension Pannel.


This is located in the right of the screen above the module list.
Now you can see the Module list for the Ads Factory Component.
Clicking on any of the modules will open a control pannel where you can set the position, title, access level (Public,Registerd,Special) and the location of the Module on your website.
To enable or disable a plugin, mark the box next to it and click Enable/Disable in the upper right.

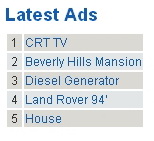
Latest Ads: Shows the last ads posted by users.
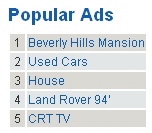
Popular Ads: Shows the most viewed ads.
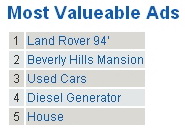
Most Valuable Ads: Shows the ads with the highest price.
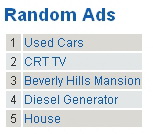
Random Ads: Shows random ads on your site.
Featured Ads: These are the paid ads, Only Gold,Silver or Bronze ads are shown here.

Configuring Latest, Popular, Most Valuable, Random and Featured Ads modules: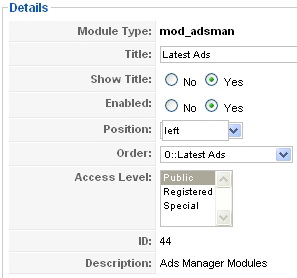
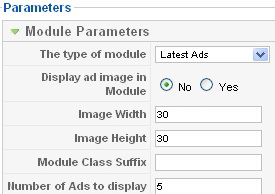
This is the standard Module edit menu for the 5 ads. You can set the title and wether or not to show it, the position of it on your site: left or right and the order it appears with the other menus on that side of your website. Access Level reffers to what kind of users can see it, Public can be seen by all, including guests, Registered is for users with an account and Special is for authors or higher access users.
In the Module Parameter menu you can chose if the module will show a small thumbnail image of the ads and it’s resolution.You can also select the number of Ads the Module can display.
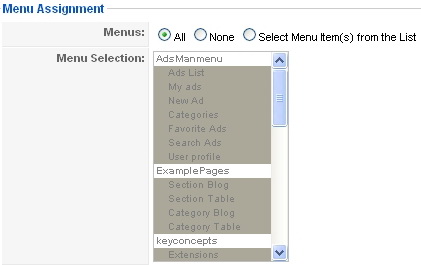
Menu Assignment is the same for all Modules, All means the Module will show in every section of the website you are in, if you wish to select specific areas of the site mark Select Menu Item and chose one.
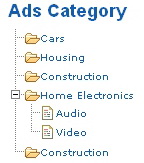
Ads Category: All the categories along with their sub-categories are shown here.
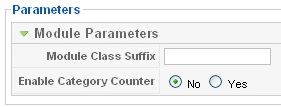
Module Class Suffix allows you to modify the CSS part of the module for individual styling, like: font, color and backround.
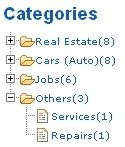
Category counter will display the number of ads in each category if enabled.
Categories section with Counter enabled.
Tag Clouds: Key words used by posters in their ads to make finding ads easier.
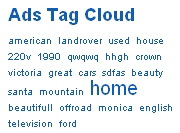
You can set the maximum tags to display, at first you might not have enough ads to fill the maximum number, when you get more Ads tag words will be randomly selected.

For Caching you can use the Global one or none at all, the Cache or Refresh time is set in minutes.

Plugins
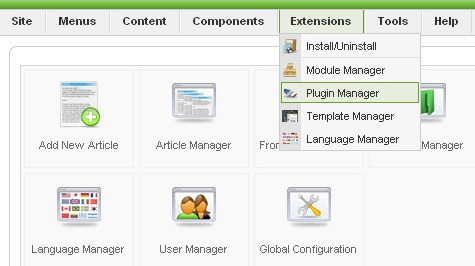
Ads Factory has the Pricing and Payment plugins automatically installed along with the GoogleMap plugin.To access the plugin manager screen go to Extension>Pluging Manager
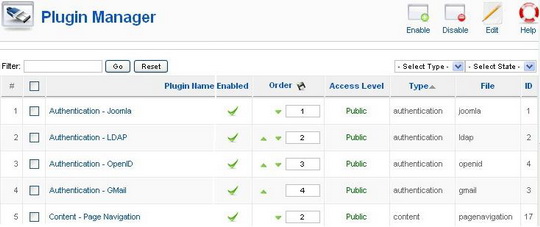
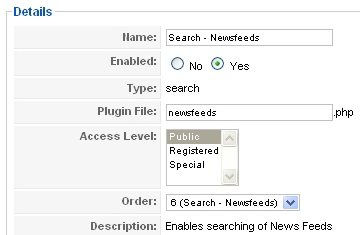
Plugins all have the same details but with different Parameters.
Uninstalling
To uninstall go to Extensions > Install/Uninstall > Components
Mark AdsMan and click Uninstall in the upper right corner.


Revised "Ads Factory" version 1.3.5.